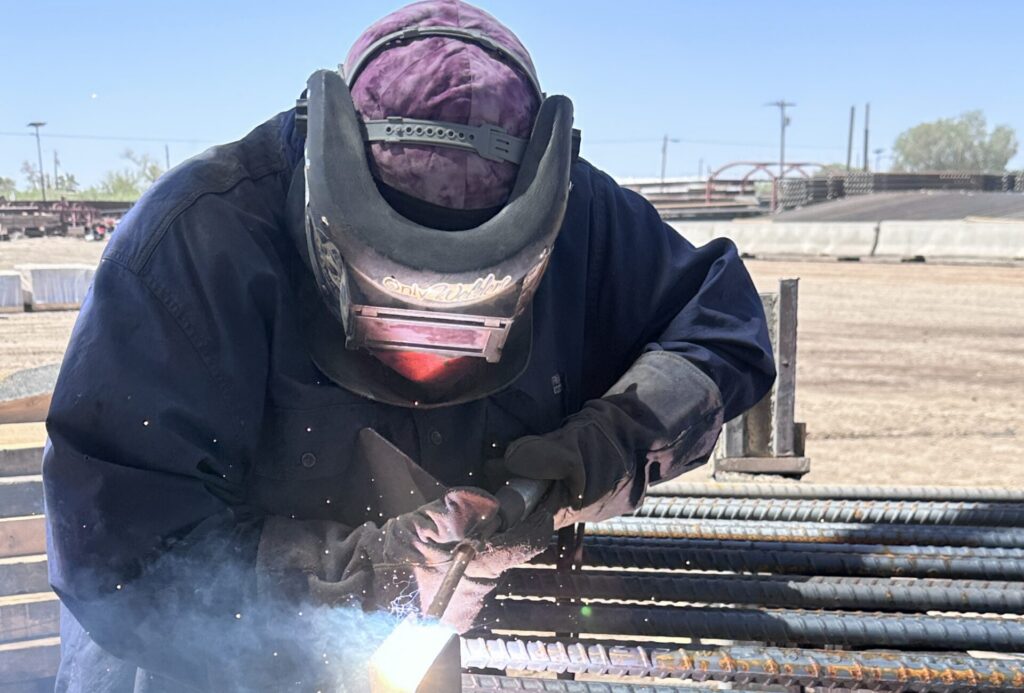
Introduction to Thermostat Wiring

hvac technician wiring thermostat

RSI is a Great Training Option for Everyone

Learn more about how we can prepare you to advance your career.

More and more homeowners are upgrading to smart thermostats and HVAC technologies these days.

Once you complete your HVAC training and start working in the field, you could find yourself switching out old bimetallic thermostats for their modern counterparts.

One of the first things you’ll see when you dismantle the thermostat is a system of low-voltage wires. They connect the thermostat to the air conditioner or furnace.

Many people are confused by how these wires are labeled, especially when replacing an older model thermostat with a newer one.[1]

Learn more about how these wires work and are typically labeled below.

Get Started on the Path to a New Career

Fill out our form to learn how we can help you change your life.


You are giving your express written consent for The Refrigeration School to contact you regarding our educational programs and services using email, telephone or text including our use of automated technology for calls or texts to any wireless number you provide. This consent is not required to purchase goods or services and you may always call us directly at (888) 671-5803.

+ Read More

The Role of Thermostat Wiring

In the majority of residential HVAC equipment, you’ll find a low-voltage control system. A control transformer usually powers the system with 24 volts of alternating current.[2]

The transformer powers the thermostat, allowing it to switch on the relays that turn on the power to the furnace, fan or air conditioner.[3]

Low-voltage wires transmit power to all of these components. They connect to the terminal screws on the air conditioner or furnace and the control terminals on the thermostat.

Markings on these strips of terminals indicate the following connections:

  • Heating
  • Cooling
  • Fan
  • Heat Pump
  • Power[4]

Standard Thermostat Wire Labels and Colors

How do you know which colored wire goes to which terminal? That’s the tricky part of replacing a thermostat.

A common practice among manufacturers is to use a standard terminal identification lettering system. The colors of the wires match the letters: the red wire would go to the R terminal, the yellow wire to the Y terminal, and so on.

The chart below illustrates the standard terminal identification lettering and wire coloring system. [5][6]

Terminal Purpose Terminal Letter Terminal Color
Transformer Power R Red
Cooling-Only Transformer Power RC Red
Heating-Only Transformer Power RH Red
Relay or Heat Valve W White
First-Stage Heat W1 White
Second-Stage Heat W2 White
Fan Relay G Green
Heat Pump Changeover Valve to Heating Alternating Use (Common on Some Systems) B Blue
Compressor Contactor Y Yellow
First-Stage Cooling Y1 Yellow
Second-Stage Colling Y2 Yellow
Emergency Heat Relay E Brown
Change-Over to Cool Relay O Orange

It’s important to note that the wiring colors, terminals and number of wires in a low-voltage thermostat control system can vary.

It’s not uncommon for HVAC technicians to find that the thermostat wiring provided doesn’t include the exact colors they need.[7] Always use the wiring diagram from the thermostat manufacturer to find precise connection directions.[8]

Safety First

removing battery from thermostat

Taking safety precautions is the first step whenever working with electrical equipment. Always turn off the circuit powering the thermostat before attempting to replace the unit or handle the low-voltage wires.[9]

Learn more about Electrical Safety for HVAC Technicians.

Additional Sources

This blog has been labeled as archived as it may no longer contain the most up-to-date data. For a list of all current blog posts, please visit our blog homepage at https://www.rsi.edu/blog/