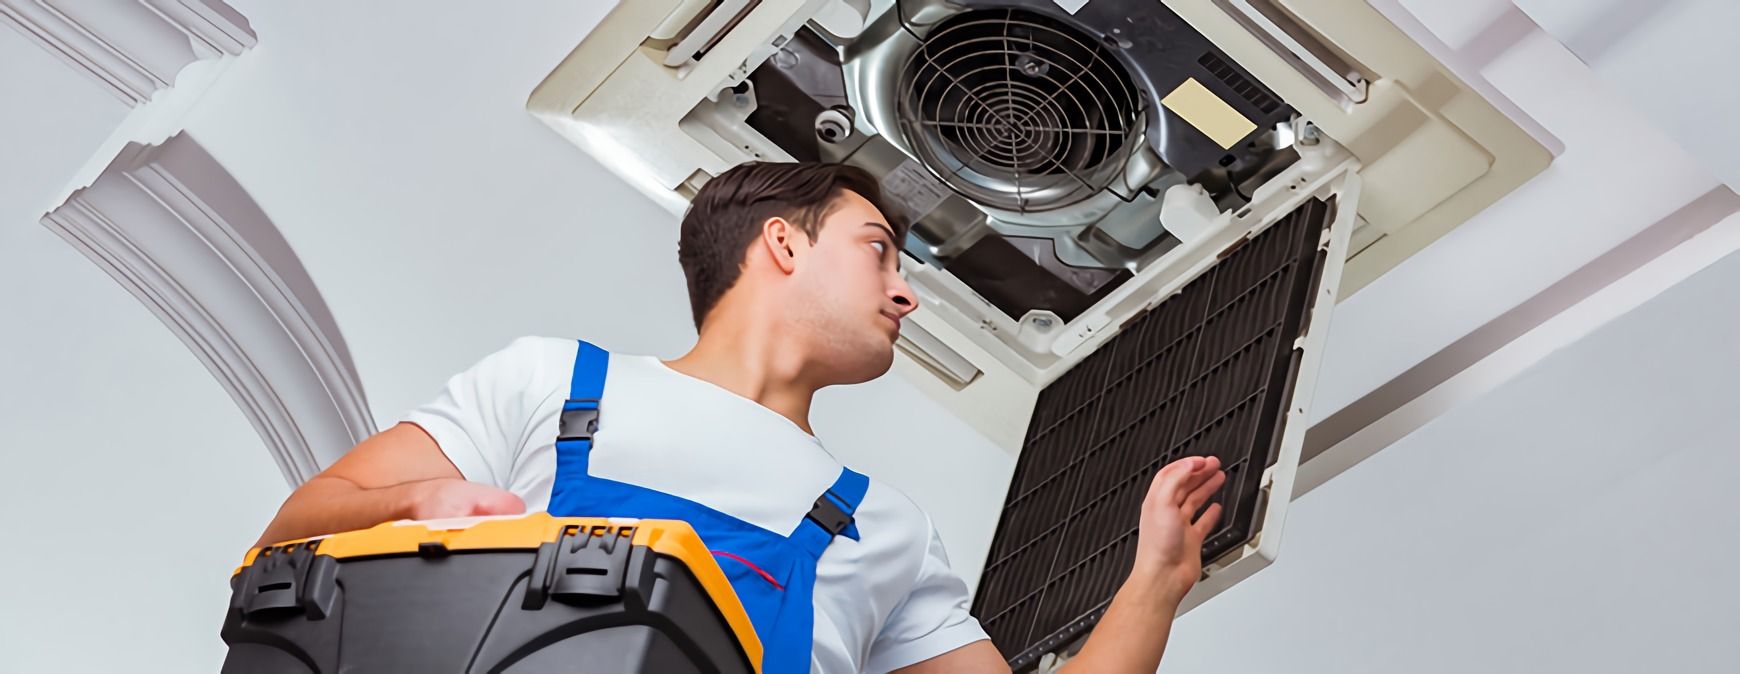
Warmer weather is here! But are customers’ HVAC systems ready for it?
Installation is just one part of an HVAC technician’s job. HVAC maintenance is an equally important part.[1]
Once you finish your HVAC program and start working in the field, expect to find yourself paying service calls to your customers for spring HVAC checkups.
When the weather heats up, future HVAC pro, you’ll be in high demand. Lots of people will be depending on your expertise to keep them cool through grueling heatwaves.
To help you prepare for this part of your future gig—and to give you an idea of what you’ll be getting into—we’ve compiled this handy HVAC maintenance checklist.
Get Started on the Path to a New Career
Fill out our form to learn how we can help you change your life.
The HVAC Technician Spring Service Checklist
Similar to winter HVAC maintenance, you’ll want to inspect the different parts of your customers’ HVAC systems to make sure they’re all working correctly after having been installed and operating for some time.
Check the Outdoor HVAC Unit
Before even switching the wall thermostat to cooling mode, inspect the parts of the HVAC system. Start with outdoor components and then move indoors.
✓ Clean Up Around the Coil
Check around the coil for vegetation or trash. These can obstruct heat transfer. Remove this debris from the coil and the base of the HVAC unit.
If there’s a heat pump, make sure the space under the unit is clear so air can freely flow through.
✓ Examine the Panels
The panels on the outdoor HVAC unit house all of the electrical connections. They prevent shock hazards.
Replace a missing panel or align a panel that may have been partly blown off by the wind.
✓ Inspect the Pipe Insulation
The suction line is the larger copper pipe. It should be fully wrapped with insulation. Check to make sure it’s properly supplying cool refrigerant to the compressor on the outdoor unit.
If insulation is missing or damaged, replace it. This will allow the unit to operate at top efficiency.
Find the correct size of insulation needed by looking at the imprint on the copper pipe. Insulation deteriorates in the sun or when filled with freezing water.
Don’t insulate the smaller copper line.
✓ Remove All Blankets, Lids or Covers
Homeowners may choose to place a condenser cover, coil blanket or lid over the entire outdoor HVAC unit for protection from the cold during winter.
Take off all covers before you test the unit. They limit heat transfer and can damage the unit, leading to the need for major repairs or even replacements.
Indoor HVAC Unit
✓ Check the Condensate Line
Make sure it’s in the correct position, not damaged, and will drain into the drain pan and out the drain line.
Water condenses on the coil because the coil is cooler than ambient air. If the drain line is not installed correctly, it can cause water damage to a home, and the repairs can be pricey.
✓ Inspect Supply Vents and Return Air Registers
Vacuum any debris from all air supply vents, as well as the return air register. Replace the air filter if it’s dirty.
You might notice that A/C vents have been covered with plastic, a trick some homeowners use to prevent drafts in their homes during the winter. Remove these covers—they’re no longer necessary for weather like this.
✓ Turn on the Thermostat
Switch to cooling mode. Lower the temperature slowly until the unit activates.
Feel the air through the registers to make sure it’s cooling. This only takes a few minutes. Either wait until the unit turns off, or turn it up slightly to ensure the thermostat is working properly.[2]
General HVAC Maintenance Tips
✓ Check Electrical Connections
Tighten all electrical connections. Measure the voltage on each part and the current of the motors.
Bad electrical connections can cause parts to fail prematurely. Failing parts mean brutal temperatures inside of your customers’ homes.
✓ Lubricate Moving Parts
Lack of lubrication causes friction in motors and can reduce the life of the HVAC system and decrease the efficiency of the unit. Make sure these are properly lubricated to preserve their functionality throughout the season.
✓ Check the Refrigerant Level
The right level of refrigerant can prevent premature failure.[3] Adjust the refrigerant level by adding or reducing the amount the unit needs to work properly.
Spring and Summer HVAC Ready
Follow these simple steps and you should have no problem getting your customers’ HVAC units ready for spring and summer (read our full Summer HVAC Maintenance Checklist here). You’re a hot commodity in the spring—and in the summer, for that matter. None of your future customers want to suffer the heat, and if you dedicate this checklist to memory, you’ll make sure they won’t have to.
This time of the year is also considered “allergy season.” Discover how HVAC maintenance can help improve indoor air quality and alleviate people’s allergy symptoms.
Additional Sources
[1] https://www.bls.gov/ooh/installation-maintenance-and-repair/heating-air-conditioning-and-refrigeration-mechanics-and-installers.htm
[2] http://www.ac-heatingconnect.com/homeowners/surviving-the-polar-vortex-preparing-your-air-conditioning-system-for-spring/
[3] https://www.energystar.gov/index.cfm?c=heat_cool.pr_maintenance
This blog has been labeled as archived as it may no longer contain the most up-to-date data. For a list of all current blog posts, please visit our blog homepage at https://www.rsi.edu/blog/

